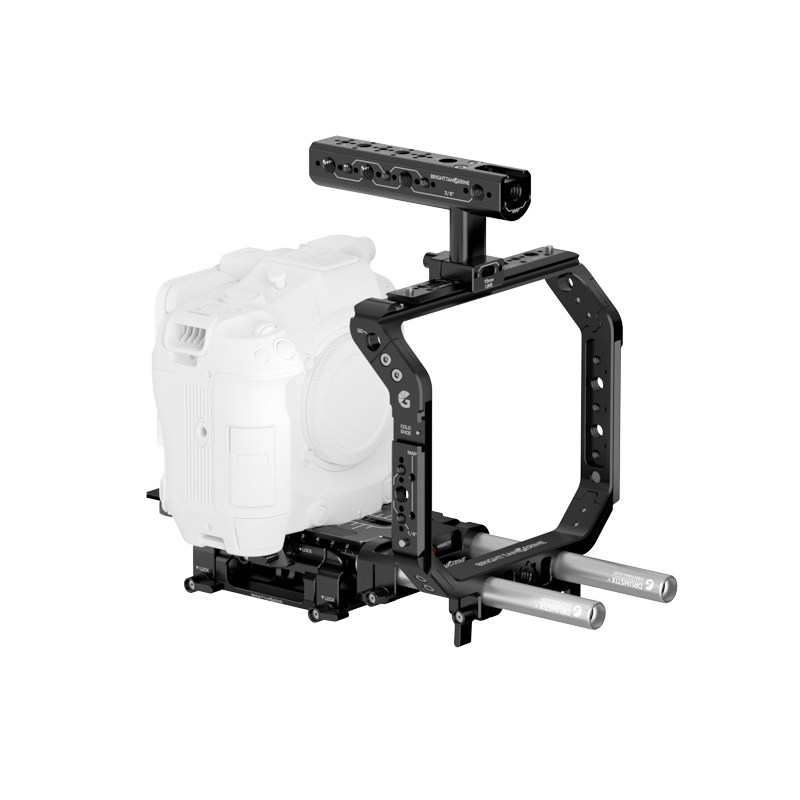
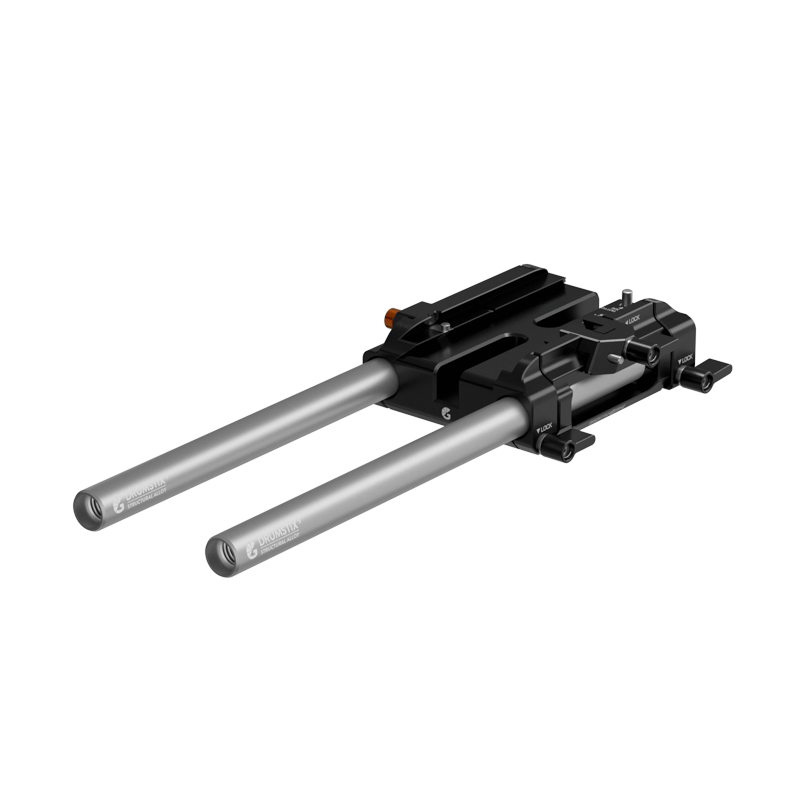
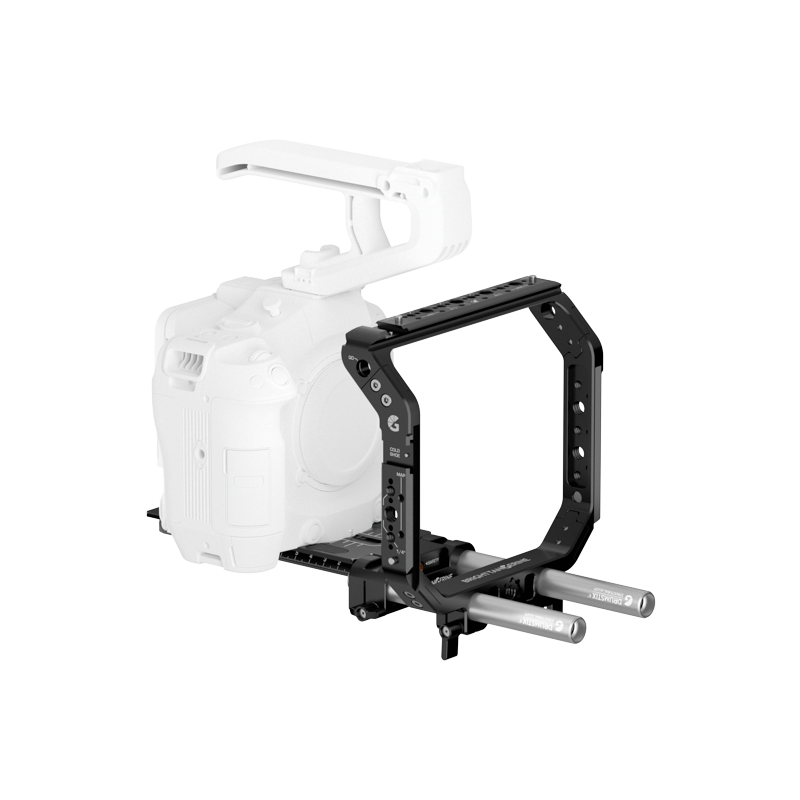
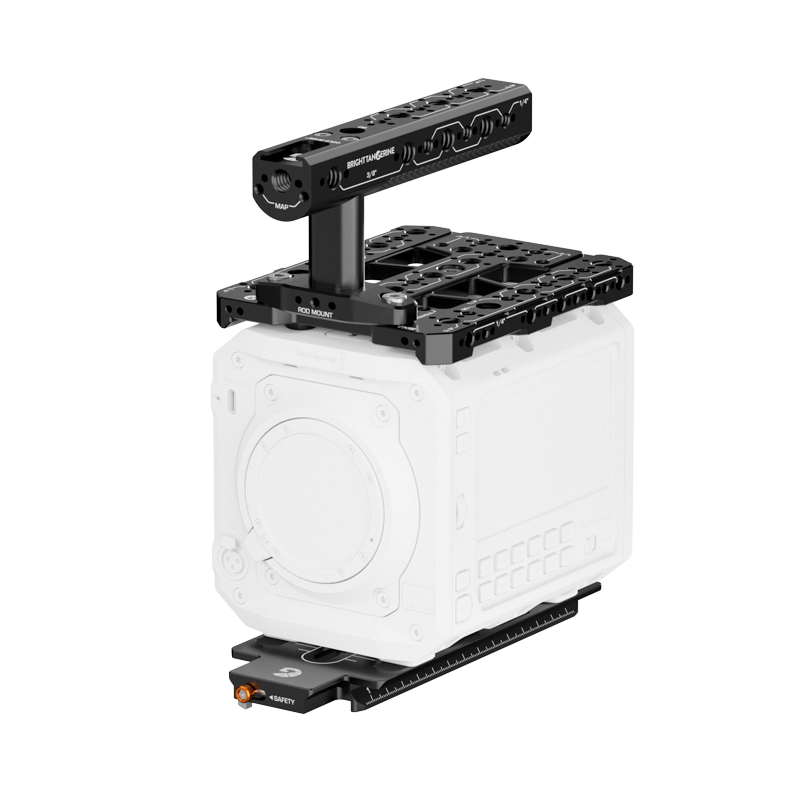
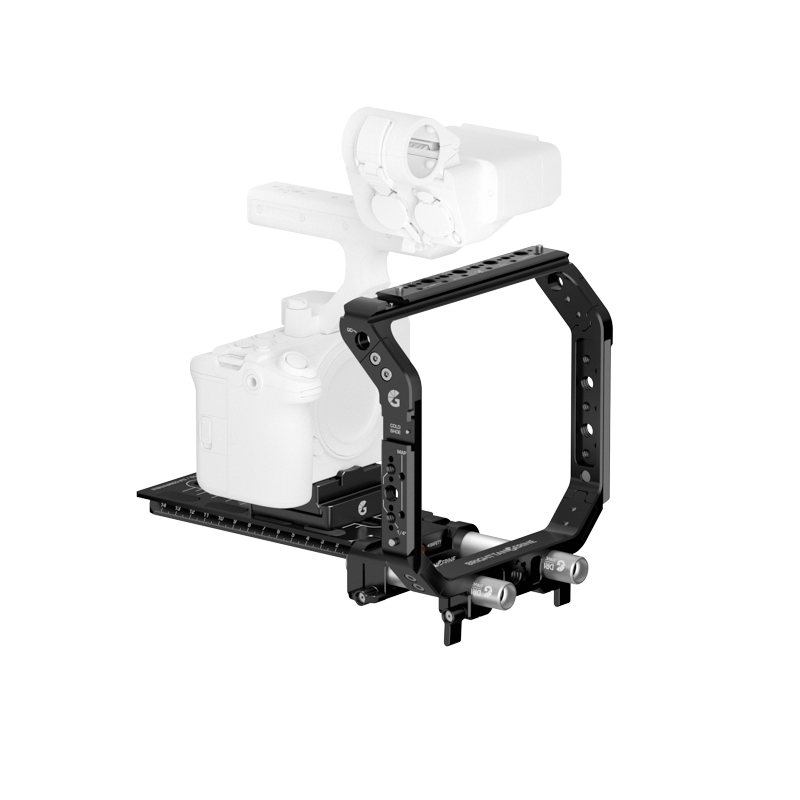
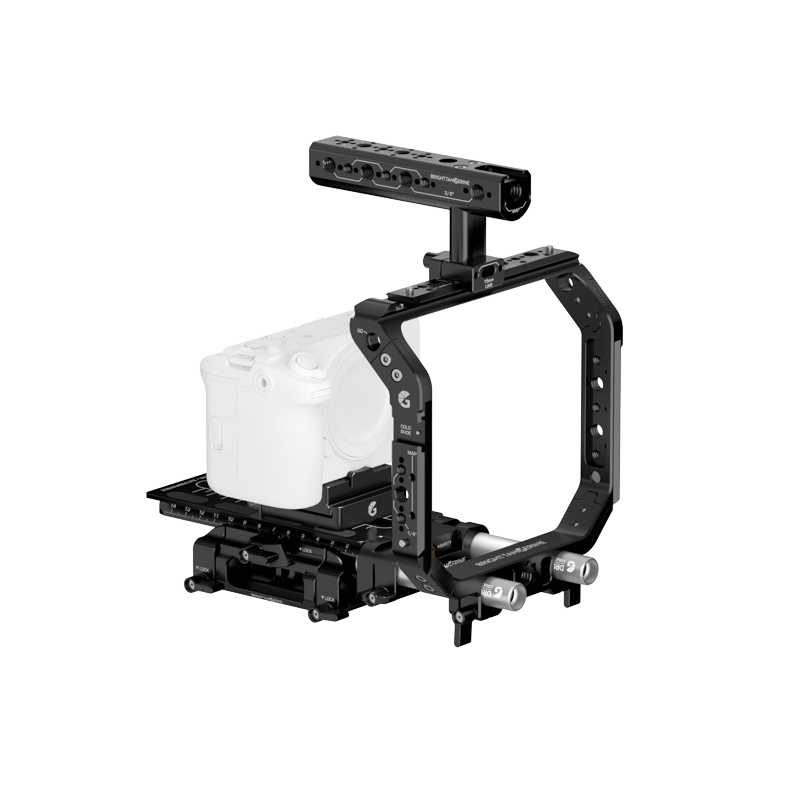
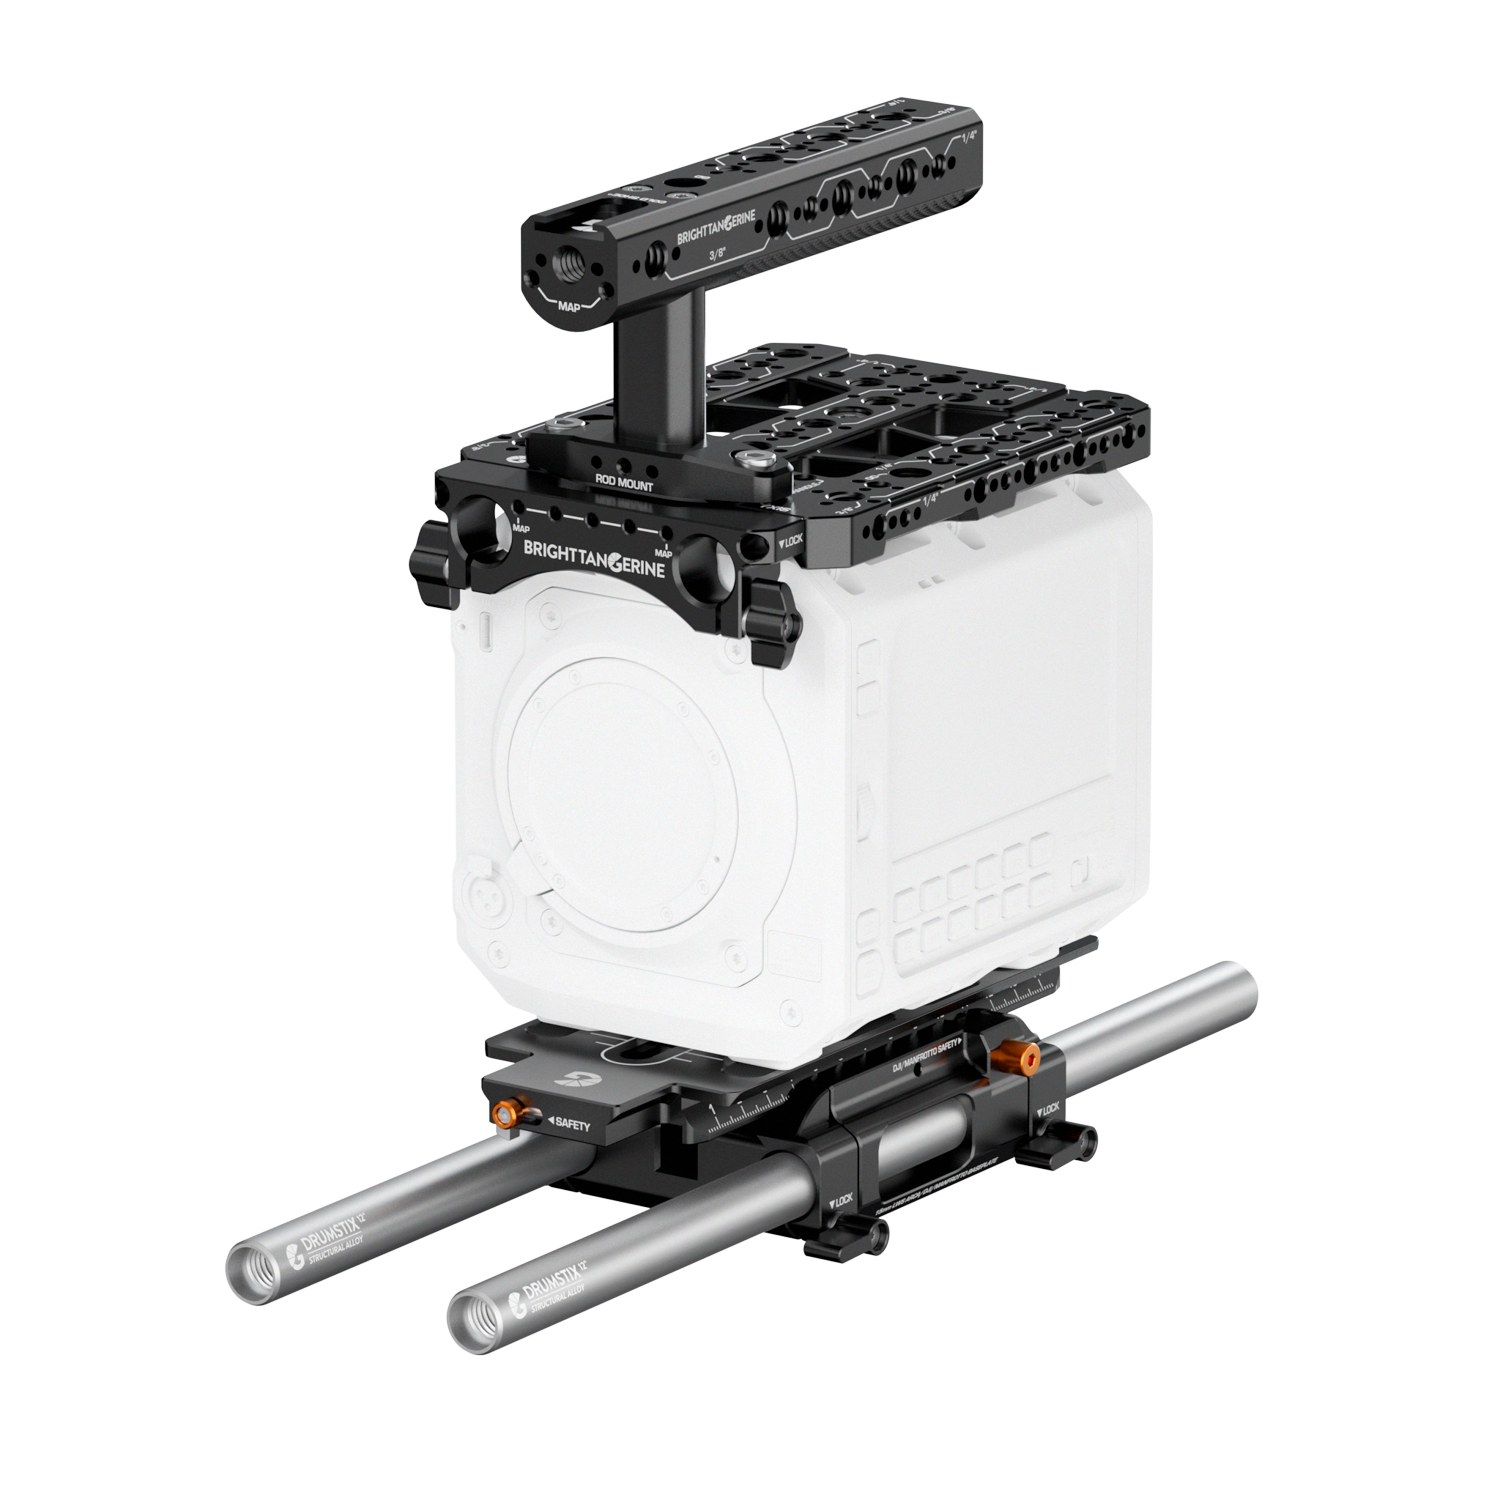
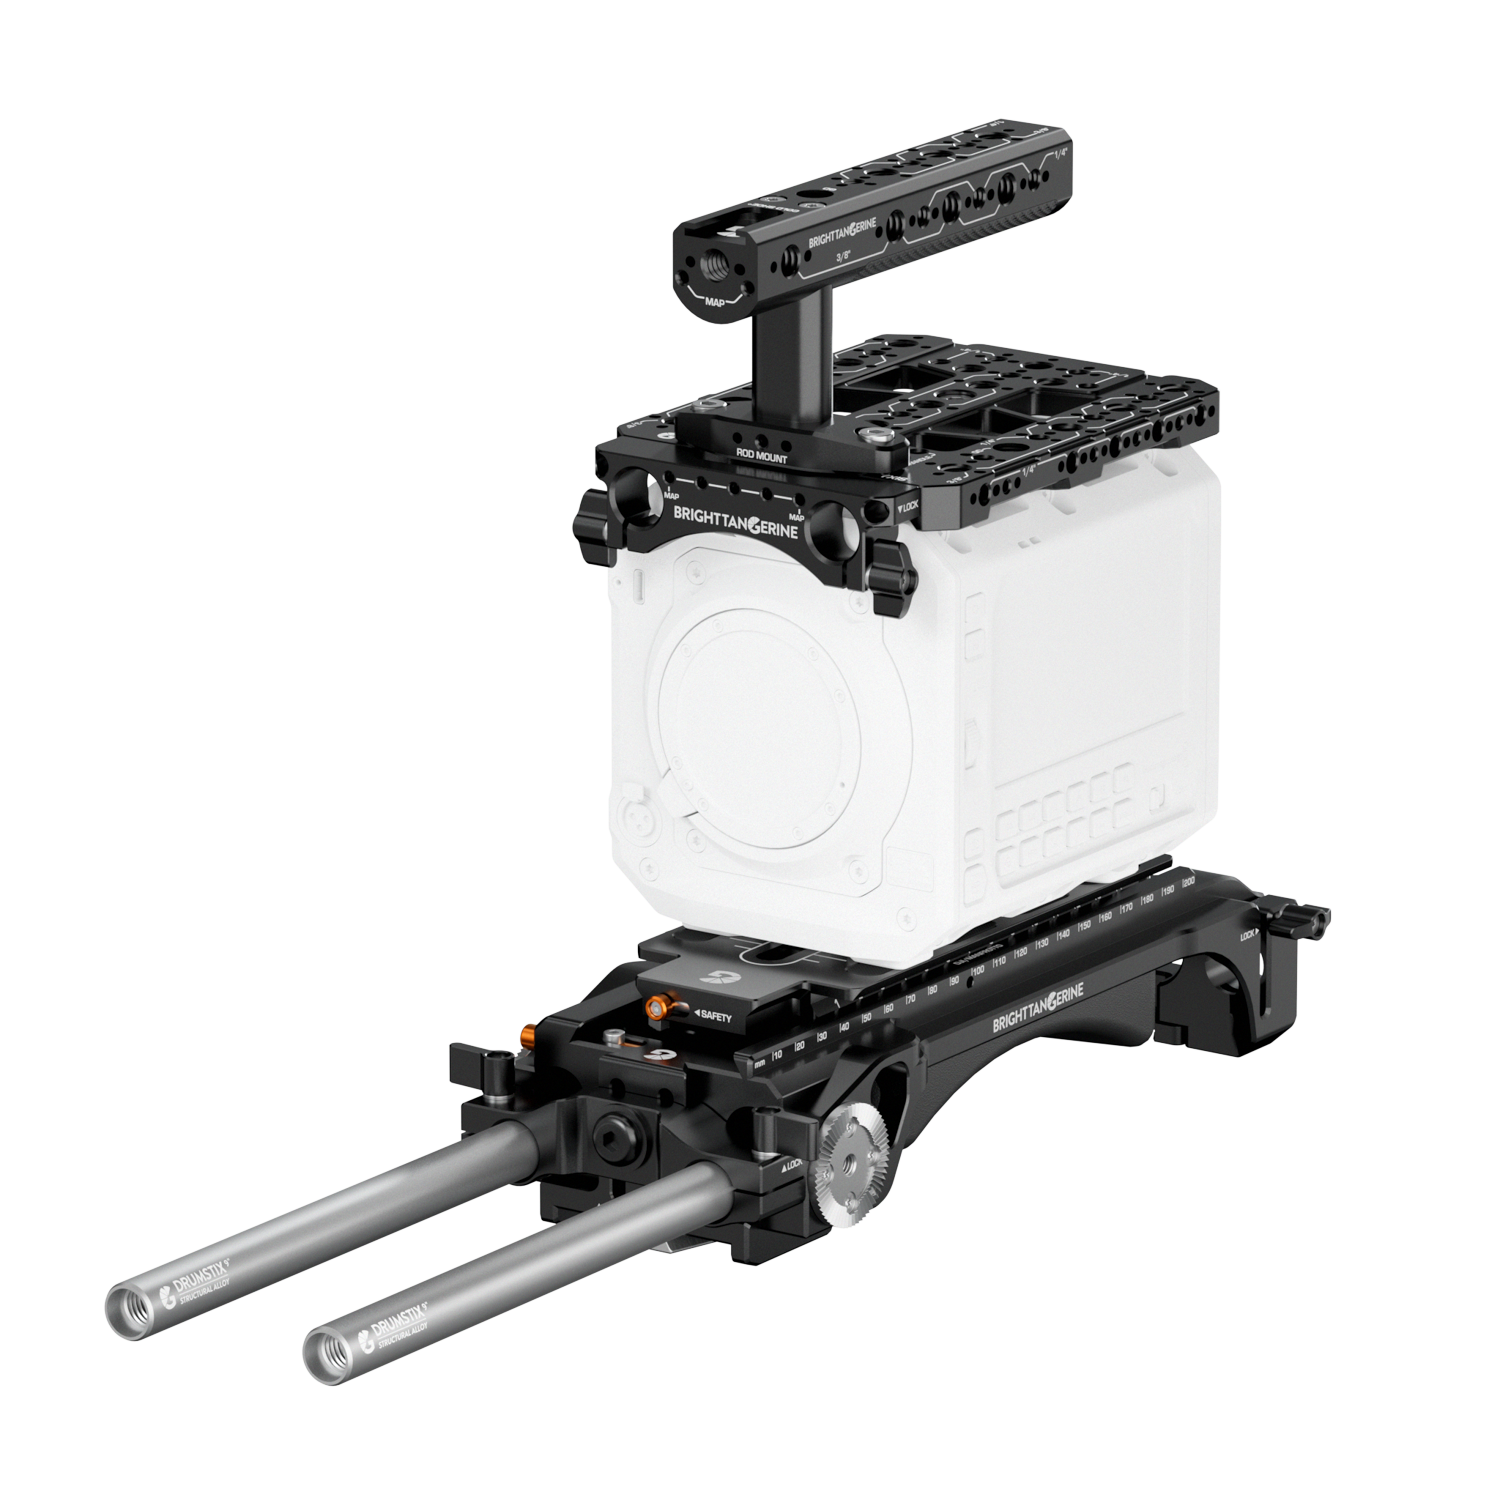
Instructions/Assembly The Expert Kit for Blackmagic PYXIS comes with all required components and screws. You will require your own 2.5mm, 3mm and 4mm Hex Key – along with a flathead screwdriver – to install it. Riser to Baseplate 1. Align the Riser’s mounting holes with the two M4 threads on the outer edge of the LeftField Mini Baseplate – on the same side as the release clamp. 2. Use a 3mm Hex Key to tightly screw the M4 threads through the Riser and the Baseplate. 3. Align the profile of the middle part of the Riser, aligning the M4 screw threads and ensuring that the Riser plate is centred. 4. Use a 3mm Hex Key to tightly screw the M4 threads through the Riser and the Baseplate. 5. Line up the orange safety stop with the corresponding port on the LeftField Mini Baseplate, sliding it in until the M4 screw threads are aligned. 6. Use a 3mm Hex Key to tightly screw the M4 threads through the Riser and the Baseplate. Universal Dovetail to Camera 1. Align the 1/4” and 3/8” screws with the corresponding threads on the base of the PYXIS. 2. Use a flathead screwdriver to tighten each screw into place. Dovetail to Riser 1. Slide the dovetail plate in through the front of the baseplate, until it is optimally aligned and balanced. Dovetails can only be loaded from the front. 2. When in place, use the ratcheting lever clamp to secure the Riser. Top Plate to Camera 1. Align the captive 3/8” screws of the Top Plate with the corresponding threads on the camera – the “G” logo and “PYXIS” text should be on the front end. 2. Use a 2.5mm Hex Key to tightly secure the Top Plate in place. Top Handle to Top Plate 1. Align the two captive 3/8” screws with the corresponding slots on your top plate or bracket of choice – the screws can slide to adjust. 2. Use a 4mm Hex Key to attach the handle to the plate. Top Bar Bracket to Top Handle/Spacer 1. Align the Handle or Spacer’s nub with the inlet on the Top Bar Bracket, aligning the screw threads. If you are using the Spacer, align the Top Handle on the other side, ensuring the Spacer is flush against both components. 2. Insert the two M4 x 25mm screws through all components. 3. Use a 3mm Hex Key to tighten the screws, ensuring all three parts are secured. Monitor to Monitor Block 1. Align the monitor block’s 1/4″ screw with the thread on your monitor’s bottom or side. 2. Use a 4mm Hex Key to screw the block to the camera. Monitor Block to Monitor Hinge 1. Align the block with the hinge bracket, ensuring that the locating pin(s) correctly slot through to the monitor. 2. Align the two screws with the threads on both the monitor block and the hinge bracket. 3. Use a 3mm Hex Key to screw all components together.